Installing vinyl plank flooring has become the top DIY project for American homeowners in 2026, with over 4.2 million installations completed annually. This comprehensive guide walks you through every step of the installation process, from surface preparation to final trim work. Whether you’re working on concrete, plywood, or existing floors, you’ll discover professional techniques that ensure a flawless finish lasting 20+ years.
Essential Tools and Materials for Vinyl Plank Installation
Before starting your vinyl plank flooring installation, gathering the right tools prevents delays and ensures professional results. A complete vinyl plank flooring installation kit typically costs between $85-$150 in 2026 and includes essential items you’ll use throughout the project. Professional installers in the United States recommend investing in quality tools rather than budget alternatives, as they significantly impact your final outcome.
Your essential toolkit should include a utility knife with snap-off blades, a rubber mallet, tapping block, pull bar, measuring tape, and speed square. Additionally, you’ll need spacers (typically 1/4 inch for standard rooms), a jigsaw or circular saw for complex cuts, and a pencil for marking. Modern vinyl plank installations in 2026 also benefit from laser levels, which cost around $45-$120 and ensure perfectly straight rows across large rooms spanning 300+ square feet.
Preparing Your Subfloor: The Foundation of Success
Proper subfloor preparation determines 70% of your installation’s long-term success according to 2026 flooring industry standards. The surface must be clean, dry, level, and structurally sound before laying any vinyl plank flooring. American building codes require subfloors to be level within 3/16 inch over a 10-foot span, and any deviations must be corrected using self-leveling compound or sanding.
For concrete subfloors, moisture testing is mandatory in 2026, as excessive moisture causes planks to buckle or separate. Use a calcium chloride test or relative humidity probe to verify moisture levels stay below 4.5 pounds per 1,000 square feet over 24 hours. If installing over existing flooring, remove any loose materials, fill low spots with floor patch compound, and ensure the combined floor height doesn’t interfere with doorways or appliances. Most professionals recommend removing old flooring when possible for optimal results.
What to Put Down Before Vinyl Plank Flooring
The underlayment question confuses many beginners, but the answer depends on your specific flooring product and subfloor type. In 2026, approximately 65% of vinyl planks come with pre-attached underlayment, eliminating the need for additional layers. However, when installing over concrete or in moisture-prone areas, a separate vapor barrier becomes essential for preventing water damage and extending your floor’s lifespan.
For concrete installations, use 6-mil polyethylene sheeting or specialized vapor barrier underlayment rated for moisture protection. Overlap seams by 8-10 inches and tape them with moisture-resistant tape to create a continuous barrier. When working with wooden subfloors in dry environments, most modern vinyl planks require no additional underlayment unless you need extra sound dampening or cushioning. Premium acoustic underlayments reduce sound transmission by 18-22 decibels and cost between $0.65-$1.20 per square foot in the United States market.
Planning Your Layout: Where to Start Installing
Strategic layout planning prevents awkward cuts and creates visually balanced rooms that enhance your home’s aesthetic appeal. Professional installers always start by measuring the room’s width and dividing by the plank width to determine if the final row will be too narrow. Industry standards recommend final rows be at least 2 inches wide; if your calculation shows less, adjust your starting point to balance the first and last rows equally.
The correct direction to lay vinyl plank flooring typically follows the longest wall or runs parallel to the main light source, making rooms appear larger and more spacious. In narrow hallways or rectangular spaces, install planks lengthwise to visually elongate the area. Create a detailed layout plan on paper before cutting any material, marking problem areas like doorways, closets, and floor vents. This planning phase, which takes 30-45 minutes for average rooms, saves hours of frustration during actual installation.
Step-by-Step Installation Process for Beginners
Starting your first vinyl plank installation becomes manageable when you break the process into clear, sequential steps that build upon each other. Begin by establishing a perfectly straight starting line using a chalk line snapped parallel to your longest wall, positioned one plank width plus 1/4 inch away for expansion space. This initial reference line determines the straightness of your entire floor, so verify it’s square to the room using the 3-4-5 triangle method before proceeding.
Installing the First Three Rows Correctly
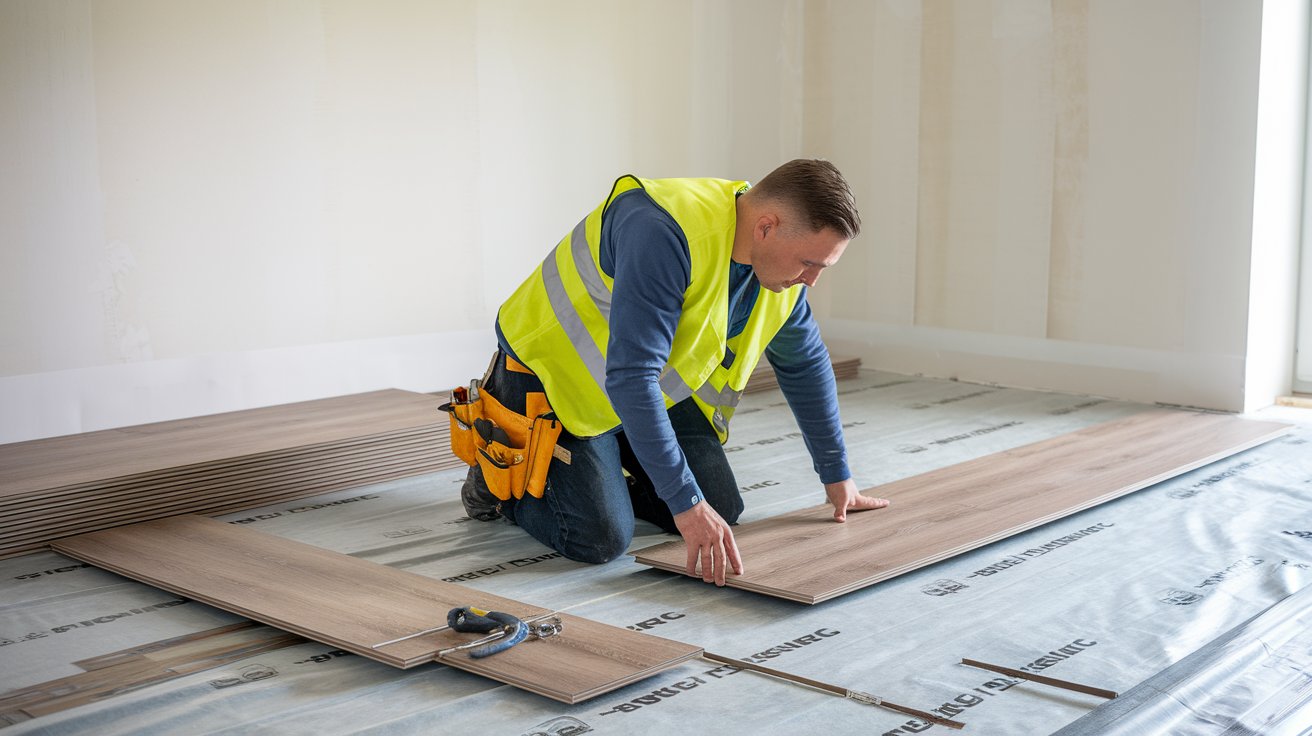
The first three rows establish the pattern and stability for your entire floor installation. Start by placing spacers against the wall to maintain consistent 1/4-inch expansion gaps, then lay your first plank in the corner with the tongue side facing the wall. Connect subsequent planks by angling the short end into the previous plank at 20-25 degrees, then lowering flat until you hear an audible click. Stagger end joints by at least 6-8 inches between adjacent rows to create structural integrity and prevent visual patterns.
For the second and third rows, continue the staggered pattern while ensuring each plank locks securely before moving forward. Use your rubber mallet and tapping block to gently close any gaps, tapping at a 45-degree angle along the long edge. Never force planks together, as this indicates misalignment or debris in the locking mechanism. These initial rows take approximately 45-60 minutes for beginners working in standard 12×15 foot rooms, but this foundation work ensures easier progress on remaining rows.
Continuing Through the Main Field
Once your starter rows are secure, the main field installation proceeds much faster, with experienced DIYers completing 150-200 square feet daily. Work from left to right across each row, maintaining your stagger pattern and checking periodically that rows remain straight against your chalk line. Every 3-4 rows, measure from both the starting wall and end wall to ensure you’re maintaining parallel alignment and not creating a wedge shape that becomes problematic in final rows.
When encountering obstacles like heating vents, pipes, or door frames, create precise templates using cardboard or paper before marking and cutting your vinyl planks. Modern jigsaw blades designed for vinyl flooring produce clean cuts without chipping, and cost approximately $8-12 for a 5-pack in 2026. Remember to maintain 1/4-inch expansion gaps around all fixed objects, which you’ll later conceal with appropriate trim pieces or floor grommets designed for this purpose.
How to Install Vinyl Plank Flooring on Concrete
Installing vinyl plank flooring on concrete requires additional preparation steps but offers excellent durability for basements, garages converted to living spaces, and ground-level rooms throughout American homes. Concrete subfloors must be completely cured (at least 60 days for new pours), thoroughly cleaned of debris, oils, and adhesives, and tested for moisture levels before installation begins. The National Wood Flooring Association reports that 40% of concrete-related flooring failures in 2026 stem from inadequate moisture testing.
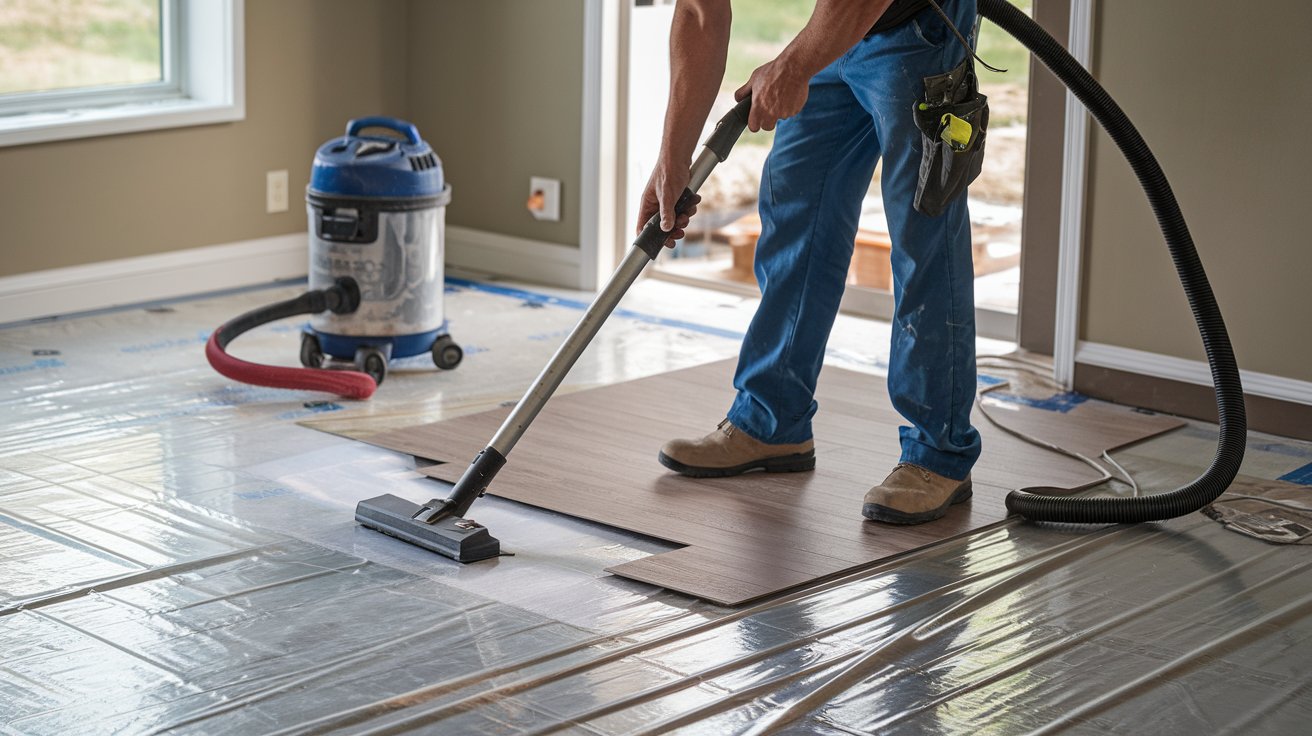
Start by grinding down any high spots and filling low areas with concrete leveling compound rated for use under vinyl flooring, which costs $25-45 per 50-pound bag. After the leveling compound cures for 24-48 hours, thoroughly vacuum and install your vapor barrier with overlapped and taped seams. Some installers prefer self-adhesive vinyl planks for concrete applications, but click-lock systems with proper moisture barriers perform equally well when installed correctly. Always allow your vinyl planks to acclimate in the installation room for 48 hours before beginning work on concrete subfloors.
Installing Vinyl Plank Flooring in Bathrooms
Bathroom installations of vinyl plank flooring present unique challenges related to moisture exposure, fixture removal, and toilet flange adjustments. Modern waterproof vinyl planks perform exceptionally well in bathrooms when properly installed with 100% waterproof adhesive or click-lock systems rated for wet areas. The key difference from standard room installations involves enhanced moisture barriers, careful sealing around fixtures, and proper transition planning at doorways.
Before starting, remove the toilet by shutting off water, flushing to empty the tank, disconnecting the supply line, and removing the bolts securing the toilet to the flange. Install your vinyl flooring completely under where the toilet sits, cutting carefully around the flange using a jigsaw or oscillating multi-tool. After installation completes, you may need to install a toilet flange extender if your new floor height raises the flange position. Apply 100% silicone caulk around the toilet base perimeter and all wall edges to prevent water infiltration, which remains the primary cause of bathroom flooring failure in residential applications.
Common Mistakes When Installing Vinyl Plank Flooring
Avoiding installation mistakes saves time, money, and frustration while ensuring your new floor performs beautifully for decades. The most critical error involves inadequate acclimation, with planks needing 48-72 hours in the installation environment to adjust to temperature and humidity levels. Installing immediately after delivery causes expansion or contraction issues that create gaps or buckling within weeks, affecting approximately 15% of rushed installations according to 2026 industry data.
Another frequent mistake involves ignoring expansion gaps around room perimeters and fixed objects. Vinyl flooring expands and contracts with temperature changes, and without proper 1/4-inch gaps, planks buckle upward or separate at seams. Never remove spacers until installation completely finishes, and verify gaps remain consistent before installing baseboards or quarter-round trim. Additionally, many beginners fail to stagger end joints adequately, creating visible patterns and weak points in the floor structure. Maintain minimum 6-inch staggers, and ideally vary joint positions between 6-12 inches for the most natural appearance.
Professional Tricks for Perfect Results
Professional installers employ specific tricks and techniques that elevate DIY installations from acceptable to exceptional. One critical practice involves dry-fitting the first three rows completely before clicking anything permanently in place, allowing you to adjust plank positions, verify your layout works properly, and identify any potential problems before they become permanent. This preview method takes an extra 15-20 minutes but prevents costly mistakes that require reinstallation.
Create a cutting station in an adjacent room or outside area where you can quickly measure, mark, and cut planks without disrupting your installation rhythm. Professional crews maintain a cutting area with a stable work surface, proper lighting, and all cutting tools within arm’s reach, which improves efficiency by 30-40% compared to cutting planks in the installation room. Additionally, keep a damp cloth handy to immediately wipe away any debris from locking mechanisms before connecting planks, as even tiny particles prevent proper engagement and create gaps that worsen over time.
Installing Vinyl Plank Flooring on Stairs
Stair installations of vinyl plank flooring require specialized techniques and materials to ensure safety and longevity on these high-traffic surfaces. Unlike standard flooring, stairs need additional adhesive support beyond click-lock systems, with construction adhesive applied to all treads and risers before plank installation. Each tread should receive a single full-width plank when possible, with the cut edge positioned at the back where it meets the riser for a clean, professional appearance.
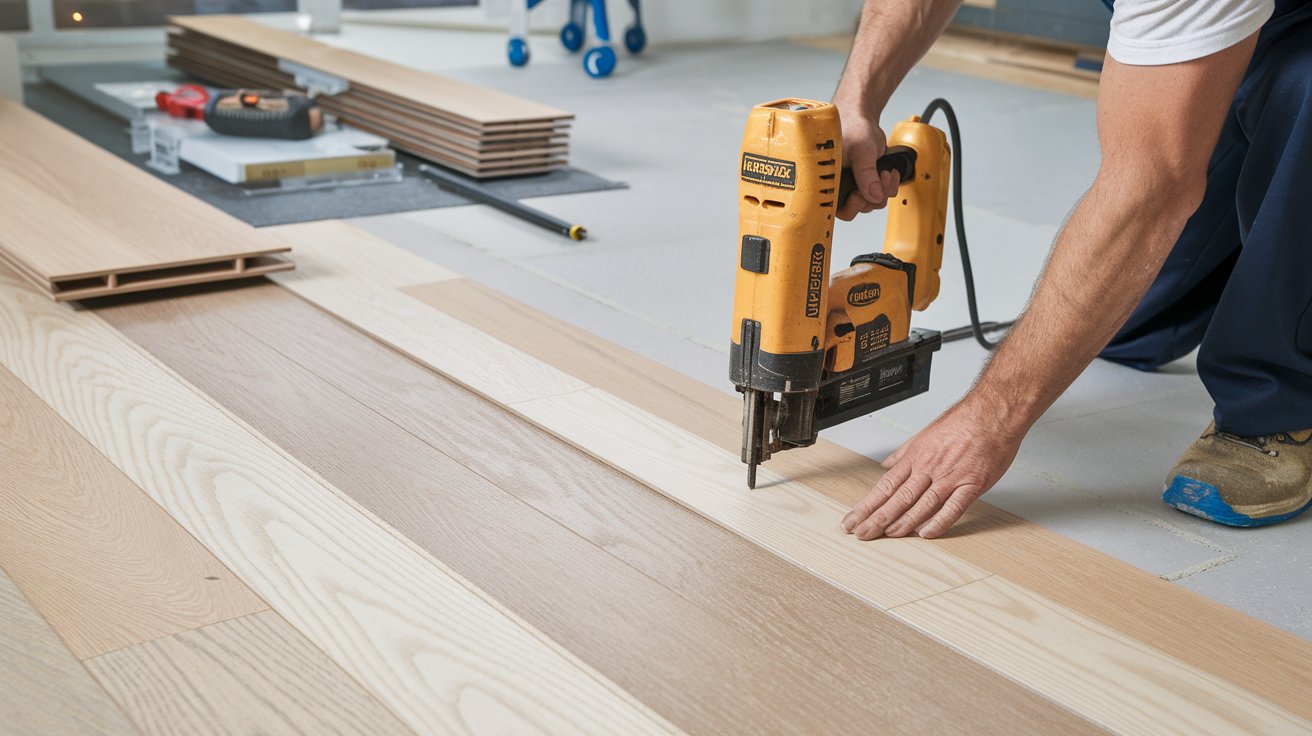
Install stair nosing designed specifically for vinyl plank flooring, which provides necessary overhang protection and matches your floor’s finish. Modern vinyl stair nosing costs $12-25 per step in 2026 and comes in coordinating colors for most major flooring brands. Secure nosing with both adhesive and finishing nails placed through pre-drilled holes to prevent splitting. For risers, cut planks to height and install vertically using construction adhesive, ensuring seams align with tread edges for visual continuity. Stair installations typically require 3-4 hours per staircase for 13-15 standard residential steps.
Finishing Touches and Trim Installation
Professional-looking finishing work transforms your vinyl plank installation from a DIY project into a polished, contractor-quality floor. Install baseboards or quarter-round molding to conceal expansion gaps while allowing the floor to move freely beneath. Modern prefinished baseboards matching popular vinyl plank colors cost $1.85-3.50 per linear foot in the United States, while quarter-round provides a more economical option at $0.95-1.75 per linear foot for quality materials.
At doorways and transitions between rooms or flooring types, install transition strips that accommodate height differences and provide clean visual breaks. T-molding works for same-height transitions, reducers handle height changes up to 1/2 inch, and thresholds seal exterior doorways against weather. These transition pieces snap into metal tracks that you install before laying flooring, or they attach directly using manufacturer-specific adhesive. Never attempt to butt different flooring types directly together without proper transitions, as this creates trip hazards and allows moisture infiltration that damages both floor surfaces over time.
Post-Installation Care and Maintenance
Proper post-installation care during the first 48 hours protects your investment and allows the flooring to fully settle into its permanent position. Avoid walking on newly installed vinyl planks with hard-soled shoes, moving heavy furniture, or placing area rugs until at least 24 hours after completion. This waiting period allows click-lock mechanisms to fully engage and any minor adjustments to occur naturally as the floor acclimates to room conditions.
After the initial settling period, establish a regular maintenance routine that preserves your vinyl plank flooring’s appearance and extends its 20-25 year lifespan. Sweep or vacuum daily to remove abrasive dirt particles that cause micro-scratches, and damp mop weekly using pH-neutral cleaners specifically formulated for luxury vinyl flooring. Avoid excessive water, steam mops, and harsh chemicals that can damage the wear layer or infiltrate seams. Place felt pads under furniture legs, use protective mats in high-traffic areas, and immediately clean spills to prevent staining. Following these maintenance practices keeps your floor looking new throughout its warranty period and beyond.
Related video about how to install vinyl plank flooring
This video complements the article information with a practical visual demonstration.
Frequently Asked Questions
Can a beginner install vinyl plank flooring successfully?
Yes, beginners can successfully install vinyl plank flooring with proper preparation and following systematic instructions. Most DIY homeowners complete standard room installations in 2-3 days, with the learning curve primarily affecting the first few rows. The click-lock installation system used in modern vinyl planks requires no special adhesives or professional tools, making it the most beginner-friendly flooring option available in 2026. Start with smaller rooms like bedrooms or offices to build confidence before tackling larger, more complex spaces. Online video tutorials and manufacturer installation guides provide additional support, and most flooring retailers offer free installation workshops that cover fundamental techniques and problem-solving strategies.
What is the correct way to lay vinyl plank flooring direction?
The correct direction for laying vinyl plank flooring typically follows the longest wall in rectangular rooms or runs parallel to the primary natural light source from windows. This orientation makes rooms appear larger and more spacious while minimizing the visibility of seams. In hallways, always install planks lengthwise along the corridor direction to create visual flow and reduce the number of end cuts required. For square rooms or open floor plans, consider the direction that minimizes waste and creates the most aesthetically pleasing pattern when viewed from main entry points. Professional installers in 2026 use digital room visualization tools that show how different plank directions affect the final appearance before beginning installation.
What not to do when installing vinyl plank flooring?
Critical mistakes to avoid include installing without proper acclimation, ignoring expansion gaps, and failing to prepare subfloors adequately. Never install vinyl planks directly from cold storage or immediately after delivery, as temperature differences cause expansion problems. Don’t eliminate the required 1/4-inch expansion gaps around room perimeters and fixed objects, even if you think baseboards will hide the space. Avoid installing over wet or damaged subfloors, as moisture and structural problems telegraph through vinyl planks and cause premature failure. Never use incompatible underlayments, adhesives, or cleaning products that void manufacturer warranties. Finally, don’t rush the installation process or skip layout planning, as these shortcuts create alignment issues and waste material through incorrect cuts that must be discarded.
How much does it cost to install vinyl plank flooring yourself versus hiring professionals in 2026?
DIY vinyl plank flooring installation costs $2.50-$6.00 per square foot for materials only in 2026, while professional installation ranges from $6.00-$12.00 per square foot including materials and labor across the United States. For a standard 300-square-foot room, DIY installation totals $750-$1,800 compared to $1,800-$3,600 professionally installed. However, DIY costs should include tool purchases ($85-$200 for a complete kit), waste material (typically 10% overage), and potential mistakes requiring replacement planks. The time investment averages 12-16 hours for beginners completing a 300-square-foot room versus 4-6 hours for professional crews. Most homeowners find DIY installation worthwhile for standard rectangular rooms but consider professional help for complex layouts, stairs, or spaces exceeding 500 square feet where experience significantly impacts results.
How long does vinyl plank flooring need to acclimate before installation?
Vinyl plank flooring acclimation requires 48-72 hours in the installation environment at temperatures between 65-85°F with relative humidity of 35-65%. Store unopened cartons flat in the installation room, stacking no more than three cartons high to ensure even air circulation around all materials. This acclimation period allows planks to adjust to ambient temperature and humidity levels, preventing expansion or contraction issues after installation. In 2026, premium vinyl plank manufacturers provide specific acclimation requirements in their installation instructions, with some engineered vinyl products requiring only 24 hours while others specify 96 hours for extreme climate conditions. Never skip acclimation periods, as temperature-related installation failures account for 15-20% of warranty claims and create gaps, buckling, or separation problems that appear within 2-4 weeks of installation.
Do you need underlayment under vinyl plank flooring in all situations?
Underlayment requirements depend on your specific vinyl plank product and subfloor conditions, with approximately 65% of modern vinyl planks in 2026 featuring pre-attached underlayment that eliminates the need for additional layers. When installing over concrete or in moisture-prone areas like basements, a separate vapor barrier underlayment becomes essential regardless of pre-attached padding. For wooden subfloors in dry, climate-controlled environments, planks with attached underlayment require no additional materials unless you need enhanced sound dampening or cushioning. However, if your vinyl planks lack attached underlayment, install a compatible foam or felt underlayment rated for floating floor installations. Never double-layer underlayments or use incompatible products, as excessive cushioning prevents locking mechanisms from engaging properly and creates hollow-feeling floors prone to separation over time.
| Installation Phase | Critical Requirements | Expected Results |
|---|---|---|
| Subfloor Preparation | Level within 3/16″ over 10 feet, moisture tested, clean and dry | Prevents 70% of installation failures, ensures 20+ year lifespan |
| Acclimation Period | 48-72 hours at 65-85°F, unopened cartons in installation room | Eliminates expansion/contraction issues, maintains warranty coverage |
| Layout Planning | Measure room, calculate final row width, create chalk reference line | Balanced appearance, minimal waste, professional-looking installation |
| First Three Rows | Perfectly straight, 6-8″ stagger pattern, consistent expansion gaps | Establishes foundation for entire floor, prevents cumulative errors |
| Expansion Gaps | 1/4″ around all perimeters and fixed objects, maintained with spacers | Allows natural movement, prevents buckling and separation problems |
| Finishing Work | Proper transitions, matching trim, concealed expansion gaps | Contractor-quality appearance, protected edges, completed aesthetic |