Installing laminate flooring has become one of the most popular DIY home improvement projects in the United States, with over 2.3 million homeowners successfully completing installations in 2025. This comprehensive guide will walk you through every step of the laminate flooring installation process, from proper subfloor preparation to finishing touches, ensuring professional results whether you’re a complete beginner or experienced DIYer.
Essential Tools and Materials for Laminate Flooring Installation
Before starting your laminate flooring project, gathering the correct tools saves time and prevents costly mistakes. The essential toolkit includes a tapping block, pull bar, spacers, measuring tape, utility knife, and a quality underlayment cutter. In 2026, most professionals recommend investing in an electric saw with fine-tooth blade for cleaner cuts, which typically costs between $80-$200 at major United States retailers.
Beyond basic tools, you’ll need specific materials including underlayment padding, moisture barrier, transition molding, and quarter-round trim. The National Wood Flooring Association reports that proper underlayment reduces noise transmission by up to 65% and adds crucial moisture protection. Budget approximately $0.50-$1.50 per square foot for quality underlayment materials available at Home Depot, Lowe’s, or Menards throughout the United States in 2026.
Preparing Your Subfloor for Laminate Installation
Proper subfloor preparation determines whether your laminate floor lasts 5 years or 25 years. The subfloor must be clean, dry, level, and structurally sound before installation begins. According to 2026 installation standards, any variations exceeding 3/16 inch over a 10-foot span require correction using self-leveling compound or floor patching materials.
For concrete subfloors, moisture testing is absolutely critical in preventing future damage. Use a calcium chloride test or moisture meter to ensure readings stay below 4.5 pounds per 1000 square feet per 24 hours. If moisture levels exceed this threshold, apply a concrete sealer or moisture barrier system. United States building codes in 2026 require moisture barriers on all concrete installations, with 6-mil polyethylene sheeting being the minimum acceptable standard.
Understanding Acclimation Requirements
Laminate flooring materials must acclimate to your home’s temperature and humidity before installation. Store unopened laminate boxes in the installation room for 48-72 hours minimum, maintaining room temperature between 60-80°F with relative humidity at 35-65%. This acclimation period prevents boards from expanding or contracting after installation, which causes gaps and buckling.
The acclimation process became even more critical in 2026 as manufacturers introduced wider planks up to 10 inches, which show greater dimensional changes with temperature fluctuations. Stack boxes flat in the center of the room, away from exterior walls and direct sunlight. Professional installers in the United States recommend using a hygrometer to monitor conditions, with devices available for $15-$40 at hardware stores nationwide.
Step-by-Step Laminate Flooring Installation Process
The actual installation of laminate flooring follows a systematic approach that beginners can master with patience and attention to detail. This section breaks down the complete process into manageable steps that ensure professional results.
Planning Your Layout and Starting Point
Determining where to start installing your laminate flooring significantly impacts the final appearance and efficiency of your project. Always begin installation along the longest, straightest wall in the room, which typically provides the best visual alignment. Measure the room width and calculate whether you’ll end with a narrow strip less than 2 inches wide on the opposite side.
If final row calculations show boards narrower than 2 inches, adjust your starting point by ripping down the first row to a width that creates balanced borders on both sides. This layout planning technique prevents awkward-looking slivers and creates a more professional appearance. In 2026, laser levels priced around $30-$80 help establish perfectly straight reference lines across rooms up to 50 feet long.
Installing the First Three Rows Correctly
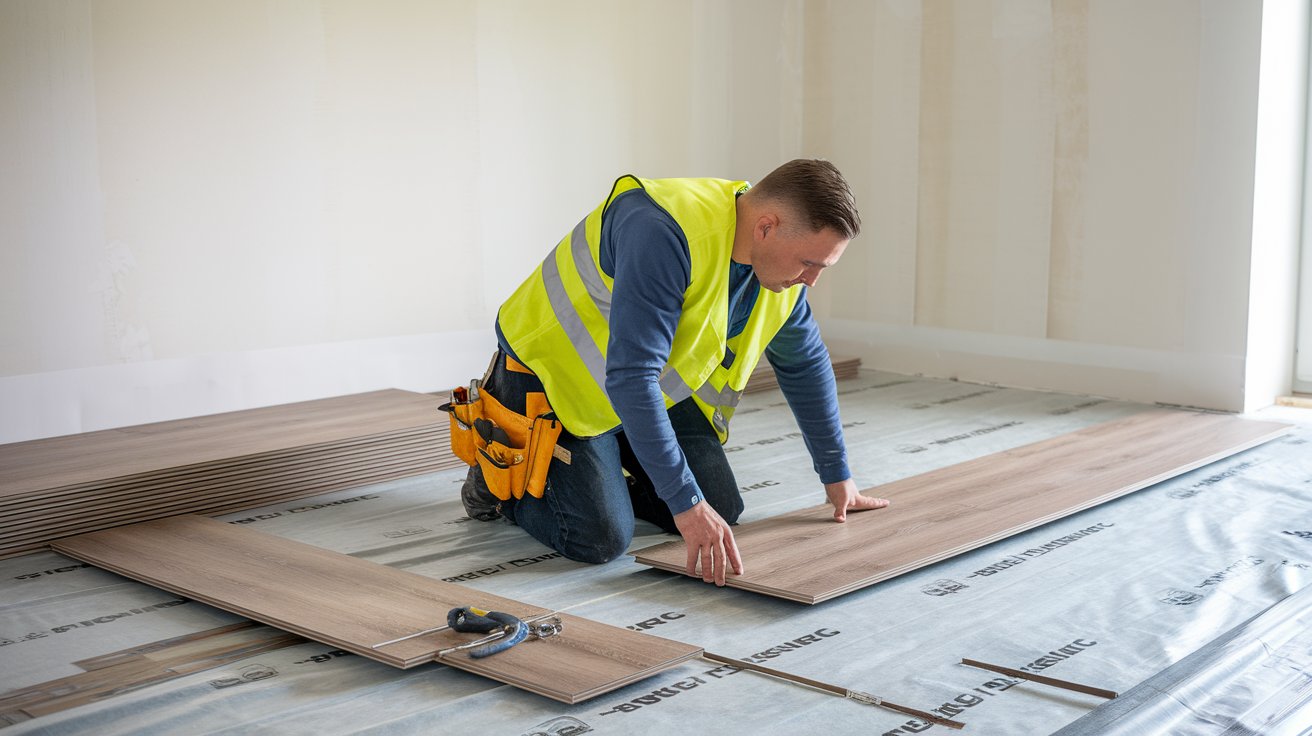
The first three rows establish the foundation for your entire laminate floor installation. Place 1/4-inch to 3/8-inch spacers against the starting wall to maintain proper expansion gaps required by all manufacturers. Remove the tongue from first-row boards using a table saw or utility knife for a clean edge against the wall.
Connect boards end-to-end in the first row by angling the short ends at approximately 20-30 degrees and lowering into place until the locking mechanism clicks. Stagger end joints by at least 12 inches between rows to create a stable installation pattern and prevent separation. The second and third rows lock into the previous row’s long edge while maintaining the same end-joint staggering pattern, creating a stable base that won’t shift during remaining installation.
How to Install Laminate Flooring on Different Subfloor Types
Different subfloor materials require specific preparation techniques and installation modifications to ensure long-lasting laminate flooring performance. Understanding these variations prevents common installation failures that plague DIY projects.
Installing Laminate on Concrete Subfloors
Concrete subfloors present unique challenges for laminate flooring installation, primarily related to moisture transmission and surface imperfections. Beyond moisture testing mentioned earlier, concrete requires thorough cleaning to remove all dirt, grease, paint, and adhesive residues that prevent proper underlayment adhesion.
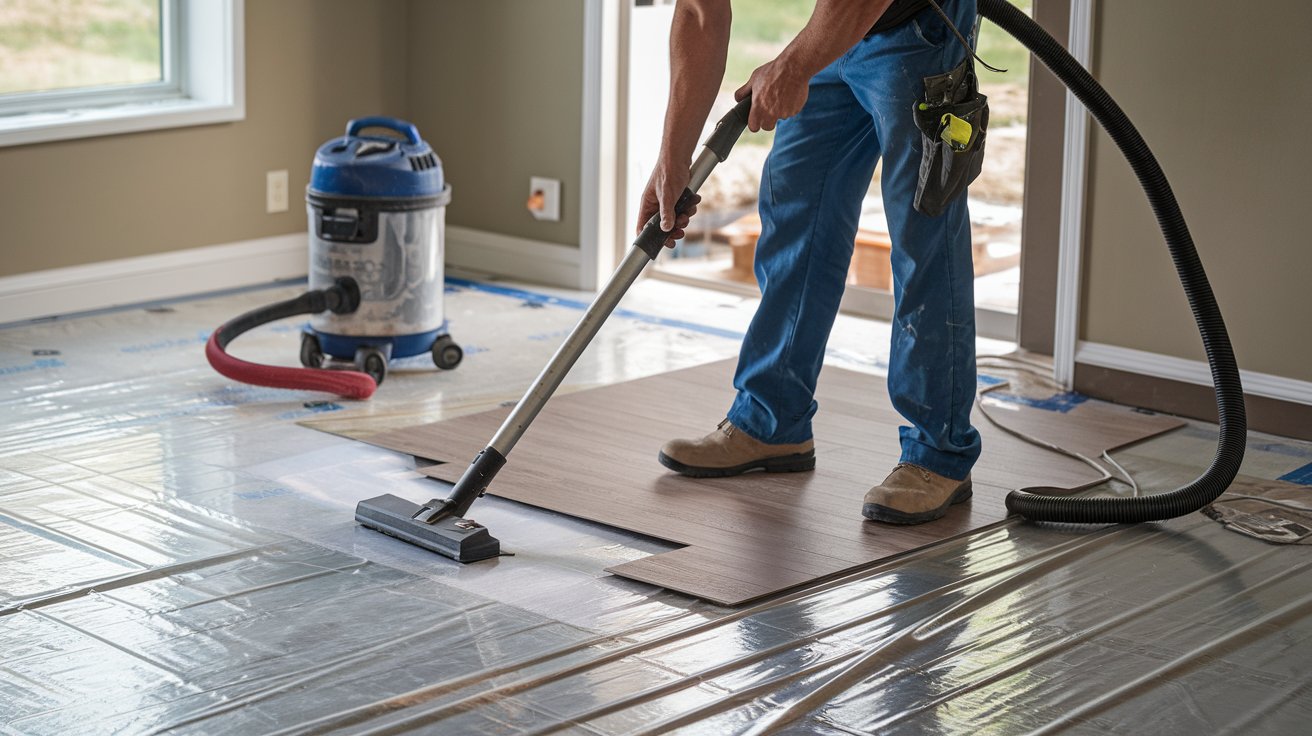
Apply a 6-mil polyethylene moisture barrier over the entire concrete surface, overlapping seams by 8 inches and sealing with moisture-resistant tape. Layer quality foam or cork underlayment padding over the moisture barrier, taping seams to prevent shifting during installation. The United States National Association of Home Builders recommends this two-layer approach for all concrete installations in 2026, reducing moisture-related failures by approximately 78% compared to single-layer systems.
Installing Laminate on Plywood and OSB Subfloors
Plywood and oriented strand board subfloors offer ideal conditions for laminate flooring when properly prepared. Ensure the subfloor is securely fastened to floor joists, adding screws every 6 inches along squeaky or loose areas. Fill any gaps wider than 1/4 inch between subfloor panels with flexible wood filler.
Most plywood installations require only standard foam underlayment without additional moisture barriers, though crawl spaces or basements benefit from 6-mil poly sheeting as added protection. Sand down any raised edges or protruding fasteners that could telegraph through the laminate surface. In 2026, building codes across the United States require minimum 5/8-inch thick plywood or 23/32-inch OSB for laminate flooring installations over 16-inch joist spacing.
Common Laminate Flooring Installation Mistakes to Avoid
Understanding frequent installation errors helps beginners avoid problems that lead to costly repairs or complete reinstallation. Industry data from 2025 shows these mistakes account for over 60% of failed DIY laminate flooring projects in the United States.
The biggest mistake involves inadequate expansion gaps around room perimeters and fixed objects like pipes or door frames. Laminate flooring expands and contracts with humidity changes, requiring minimum 1/4-inch gaps on all sides. Failure to maintain these gaps causes boards to buckle and peak, especially during humid summer months. Always use proper spacers and never force boards tight against walls or cabinets.
Another critical error is incorrect underlayment installation, including overlapping multiple layers, installing backwards, or skipping moisture barriers on concrete. Using incompatible underlayment types with attached-pad laminate creates too much cushion, leading to joint separation and excessive floor movement. The National Wood Flooring Association reports that underlayment mistakes contribute to 23% of warranty claims filed in 2026.
Insufficient acclimation time ranks among the top three installation mistakes. Rushing installation before materials reach room temperature and humidity equilibrium guarantees dimensional problems within weeks. Even experienced contractors emphasize the importance of full 48-72 hour acclimation periods, extended to 96 hours in climate-controlled environments or during extreme seasonal transitions common across the United States.
Working Around Obstacles and Doorways
Professional-looking laminate flooring installations require proper techniques for managing doorways, heating vents, pipes, and irregular room shapes. These challenging areas separate amateur results from professional-quality work.
For doorways and transitions between rooms, undercut door casings and jambs using a jamb saw or oscillating multi-tool to allow laminate boards to slide underneath for seamless appearance. Maintain the required 1/4-inch expansion gap but hide it beneath the door trim rather than exposing it in the opening. Install appropriate transition moldings where laminate meets other flooring types, choosing from T-molding, reducer strips, or threshold pieces based on height differences.
Cutting around pipes, radiators, and other obstacles requires careful measurement and template creation. Measure the exact position of obstacles from the nearest walls, transfer measurements to boards, and drill holes 1/4-inch larger than pipe diameter to maintain expansion space. Cut a relief line from the board edge to the hole, install the main piece, and glue the relief section back in place with wood glue for nearly invisible repairs.
Tricks and Pro Tips for Easier Installation
Experienced installers develop techniques that dramatically improve installation speed and quality. These professional tricks help beginners achieve better results with less frustration throughout the project.
Create a detailed cheat sheet documenting your specific laminate’s installation requirements, including angle-and-tap techniques, locking mechanisms, and manufacturer-specific quirks. Practice assembling 10-12 boards before starting the actual installation to develop muscle memory and understand how your particular flooring system connects. This practice session, recommended by 89% of professional installers surveyed in 2026, reduces installation time by approximately 30% for first-time DIYers.
Use painter’s tape to mark electrical outlets, heating vents, and obstacle positions on your underlayment before laying boards. This simple technique prevents measurement errors and reduces cutting mistakes. When cutting boards, always position the decorative face-up for circular saws and face-down for jigsaws to prevent chipping the visible surface. Quality 80-tooth carbide blades, available for $25-$60 at United States hardware stores, produce cleaner cuts requiring less touch-up work.
Installing the Final Rows and Finishing Touches
Completing the last rows of laminate flooring presents unique challenges that require specific tools and techniques. The final row typically requires ripping boards lengthwise to fit the remaining space while maintaining the critical 1/4-inch expansion gap.
Measure the distance from the last installed row to the wall at multiple points, accounting for wall irregularities common in older United States homes. Subtract 1/4 inch for expansion gap and transfer measurements to your final-row boards. A table saw provides the straightest cuts, though a circular saw with guide rail works for smaller projects. Use a pull bar to lock final-row boards into place, as tapping blocks can’t reach into tight spaces against walls.
After installation completes, install baseboards or quarter-round molding to conceal expansion gaps around the perimeter. Never nail molding through laminate flooring into the subfloor, as this prevents natural expansion and causes buckling. Instead, nail molding only into wall studs or base plates, allowing the laminate floor to float freely beneath. Remove all spacers before installing trim to prevent permanent gaps between floor and molding.
Does Laminate Flooring Need to Be Glued or Nailed Down
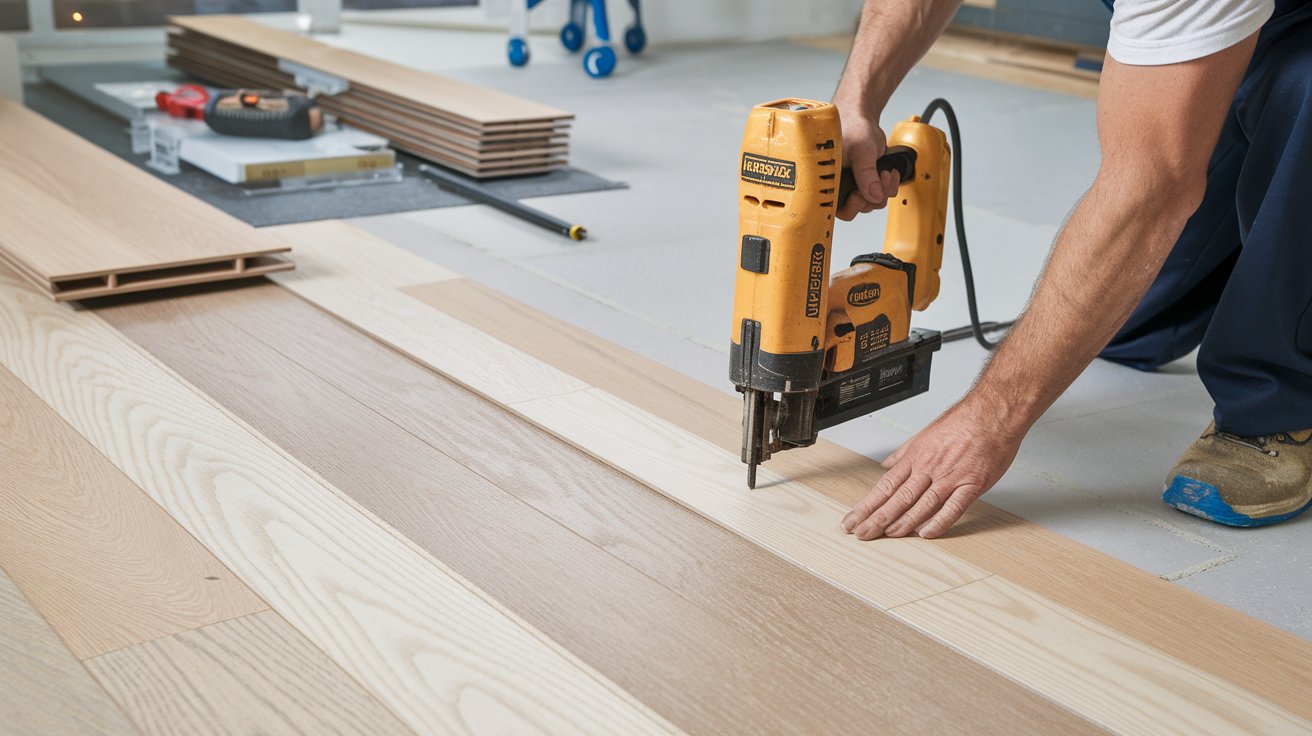
Modern laminate flooring utilizes click-lock or fold-and-lock installation systems that require no glue, nails, or staples. This floating floor installation method allows the entire floor to move as one unit, expanding and contracting with environmental changes without damage. The floating installation technique revolutionized DIY flooring when introduced in the 1990s and remains the standard approach in 2026.
Some older laminate products from before 2010 required gluing tongue-and-groove joints, but these systems became obsolete as click-lock technology improved. Current United States building codes and manufacturer warranties specifically prohibit gluing or nailing laminate planks to subfloors, as attachment prevents necessary movement and voids all product warranties.
The only adhesive used in professional laminate installations is for securing underlayment seams with specialized tape and occasionally gluing down transition moldings or quarter-round pieces that have failed to nail properly. Many installers also use small amounts of wood glue on relief cuts around pipes or on damaged tongue-and-groove connections, but the main floor surface always remains completely unattached to the subfloor beneath.
How to Install Laminate Flooring Without Underlayment
Installing laminate flooring without underlayment is generally not recommended and violates most manufacturer warranties, but specific products with pre-attached padding allow this approach. These integrated systems combine laminate planks with factory-bonded foam or cork underlayment, eliminating the separate underlayment installation step.
If you must install traditional laminate without separate underlayment due to height restrictions or other limitations, understand that you’ll sacrifice sound dampening, minor subfloor imperfection forgiveness, and some moisture protection. This approach only works on perfectly smooth, level subfloors in dry environments. The National Wood Flooring Association reports that installations without proper underlayment experience 3-4 times higher failure rates within the first five years compared to properly installed systems.
For concrete subfloors, eliminating underlayment is never advisable regardless of circumstances, as moisture barriers remain absolutely essential for preventing damage. Even with pre-attached pad laminate over concrete, add a separate 6-mil polyethylene moisture barrier beneath the flooring. The minimal cost of quality underlayment materials, typically $75-$200 for average rooms in 2026, provides insurance against thousands of dollars in potential floor replacement costs.
Post-Installation Care and Maintenance
Proper care immediately after installation and ongoing maintenance determines how long your laminate flooring maintains its appearance and structural integrity. Allow 24 hours before walking on newly installed floors and 48 hours before moving furniture back into the room, giving locking mechanisms time to fully engage and settle.
Clean laminate floors using only manufacturer-approved cleaning products or simple solutions of warm water with small amounts of vinegar. Never use steam mops, wet mops, or excessive water, as moisture penetrating joints causes swelling and permanent damage. The United States Environmental Protection Agency recommends dry or damp microfiber mops for regular laminate floor cleaning, removing 99% of dirt and bacteria without harsh chemicals.
Place felt pads under all furniture legs to prevent scratching and redistribute weight across wider areas. Use area rugs in high-traffic zones and entry mats at exterior doors to trap dirt and moisture before they reach your flooring. Maintain indoor humidity levels between 35-65% year-round using humidifiers or dehumidifiers as needed, preventing the expansion and contraction cycles that stress locking mechanisms and create gaps between planks over time.
Related video about how to install laminate flooring
This video complements the article information with a practical visual demonstration.
Frequently Asked Questions
Can a beginner install laminate flooring successfully?
Yes, beginners can absolutely install laminate flooring successfully with proper preparation and patience. The click-lock installation systems used in modern laminate flooring were specifically designed for DIY installation, requiring no special skills or expensive tools. Most first-time installers in the United States complete standard 300-square-foot rooms in 8-12 hours over a weekend. The key to success involves thoroughly reading manufacturer instructions, practicing with sample boards before starting, taking accurate measurements, and not rushing the acclimation period. Industry surveys from 2026 show that 73% of homeowners who installed their own laminate flooring rated the experience as easier than expected, with proper planning being the most important success factor.
What are the biggest mistakes when installing laminate flooring?
The three biggest laminate flooring installation mistakes are inadequate expansion gaps, improper underlayment, and insufficient acclimation time. Failing to maintain 1/4-inch expansion gaps around all room perimeters causes buckling and peaking as floors expand with humidity changes, accounting for approximately 35% of installation failures. Incorrect underlayment installation, including using wrong types or skipping moisture barriers on concrete, leads to another 23% of problems. Rushing installation before materials acclimate to room conditions causes gaps and separation issues within weeks. Other common mistakes include not staggering end joints properly, installing on unlevel subfloors, and securing the floating floor to the subfloor with nails or glue. Taking time to understand these potential problems before starting prevents the majority of installation failures experienced by DIY installers.
How long does it take to install laminate flooring in a typical room?
Installing laminate flooring in a typical 12×15 foot bedroom takes approximately 6-10 hours for beginners and 3-5 hours for experienced installers, not including preparation time. Total project timeline spans 3-5 days when accounting for proper acclimation (48-72 hours), subfloor preparation (2-4 hours), actual installation, and allowing 24 hours before walking on the floor. Larger rooms, complex layouts with multiple doorways, or challenging subfloor conditions extend installation time proportionally. Professional installers in the United States typically complete 300-500 square feet per day, while DIY installers average 100-200 square feet daily. The acclimation period cannot be rushed regardless of installer experience, as this critical step prevents dimensional problems that lead to expensive repairs. Planning for a full weekend project plus acclimation time ensures adequate schedule flexibility for quality results.
Do you need a moisture barrier under laminate flooring on concrete?
Yes, moisture barriers are absolutely required under all laminate flooring installations on concrete subfloors according to manufacturer warranties and United States building codes updated in 2026. Concrete continuously transmits moisture vapor even when appearing completely dry, and this moisture causes laminate flooring to swell, warp, and develop mold growth without proper protection. The minimum acceptable moisture barrier is 6-mil polyethylene sheeting installed with 8-inch overlapping seams sealed with moisture-resistant tape. Many professionals recommend upgrading to specialized vapor barrier products rated at 15-mil thickness for enhanced protection, particularly in basements or areas with known moisture issues. Moisture testing using calcium chloride tests or electronic meters should confirm levels below 4.5 pounds per 1000 square feet per 24 hours before installation proceeds. Skipping moisture barriers on concrete installations voids all manufacturer warranties and virtually guarantees floor failure within 2-5 years.
What tools do I absolutely need to install laminate flooring?
The essential tools for laminate flooring installation include a tapping block, pull bar, spacers, tape measure, pencil, utility knife, and saw for cutting boards. The tapping block and pull bar are laminate-specific tools that protect board edges while locking pieces together, available in installation kits costing $15-$40 at United States hardware stores. Spacers maintain required expansion gaps, with 1/4-inch or 3/8-inch sizes being standard. For cutting, a miter saw, table saw, or circular saw with fine-tooth carbide blade produces best results, though jigsaws work for curved cuts around obstacles. Additional helpful tools include a jamb saw for undercutting door casings, laser level for establishing straight reference lines, and oscillating multi-tool for precise cuts in tight spaces. Most beginners can complete installations with basic tools already owned plus a $20-$50 investment in laminate-specific accessories, though power tools significantly improve cut quality and reduce installation time.
Can laminate flooring be installed over existing flooring?
Laminate flooring can be installed over some existing flooring types if they’re in good condition, level, and firmly attached to the subfloor, but not all situations are appropriate. Installing over vinyl, linoleum, or existing laminate is generally acceptable provided the surface is smooth, level within 3/16 inch over 10 feet, and completely stable. However, installing over carpet, loose tiles, or cushioned vinyl is not recommended as these create too much movement and prevent proper locking of laminate boards. The existing floor must be thoroughly cleaned and any damaged sections repaired or replaced before installation. Building codes in many United States jurisdictions limit total flooring layers to prevent excessive height buildup and floor load issues. Installing over existing flooring saves demolition time and costs but adds height that may create problems with door clearances, appliances, and transitions to adjacent rooms. Most professional installers recommend removing old flooring when possible to ensure optimal subfloor conditions and longest-lasting laminate performance.
| Installation Phase | Key Requirements | Time Required |
|---|---|---|
| Acclimation | 48-72 hours at 60-80°F, 35-65% humidity | 2-3 days |
| Subfloor Preparation | Clean, level within 3/16 inch, moisture tested | 2-4 hours |
| Underlayment Installation | Moisture barrier on concrete, taped seams | 1-2 hours |
| Floor Installation | 1/4-inch expansion gaps, 12-inch stagger pattern | 6-10 hours |
| Trim and Finishing | Baseboards, transitions, remove spacers | 2-3 hours |
| Settling Period | No foot traffic, no furniture placement | 24-48 hours |