Refinishing hardwood floors can transform your home’s appearance while adding significant value to your property. Whether you’re dealing with scratched, dull, or worn flooring, the refinishing process restores the natural beauty of wood at a fraction of replacement costs. In 2026, homeowners across the United States are increasingly choosing DIY refinishing projects, saving an average of $3,000 to $5,000 compared to professional services. This comprehensive guide walks you through every step of the refinishing process, from assessment to final coating.
When Is It Time to Refinish Your Hardwood Floors
Knowing when to refinish hardwood floors prevents further damage and maintains your home’s value. Several clear indicators signal it’s time for refinishing rather than simple cleaning or recoating. Deep scratches that penetrate through the finish into the wood itself cannot be removed with regular cleaning and require sanding and refinishing. Water stains, fading from sunlight exposure, and gray discoloration from foot traffic are visual cues that your floor’s protective layer has worn away.
The water test provides a definitive answer about your floor’s condition. Drop a few water droplets on different floor areas and observe their behavior. If water beads up on the surface, your finish remains intact and may only need recoating. However, if water soaks into the wood within minutes, the protective seal has failed and full refinishing is necessary. According to 2026 flooring industry data, most hardwood floors require refinishing every 7 to 10 years with normal use, though high-traffic areas in United States homes may need attention every 5 to 7 years.
Cost to Refinish Hardwood Floors in 2026
Understanding the cost to refinish hardwood floors helps you budget appropriately and decide between DIY and professional services. In 2026, professional refinishing services across the United States typically charge between $3.50 and $6.00 per square foot, translating to $1,750 to $3,000 for a 500-square-foot room. These prices include sanding, staining, and applying multiple coats of polyurethane finish. Metropolitan areas like New York, San Francisco, and Boston command premium rates up to $8.00 per square foot due to higher labor costs.
DIY refinishing dramatically reduces expenses, with total material costs ranging from $300 to $800 for that same 500-square-foot room. Equipment rental represents the largest expense at $150 to $300 for drum sanders, edge sanders, and buffing machines for a three-day period. Sandpaper, stain, polyurethane, brushes, and safety equipment add another $150 to $500 depending on quality choices and finish preferences. The potential savings of $1,500 to $2,500 make DIY refinishing attractive for budget-conscious homeowners willing to invest their time and effort into the project.
Essential Tools and Materials for Refinishing
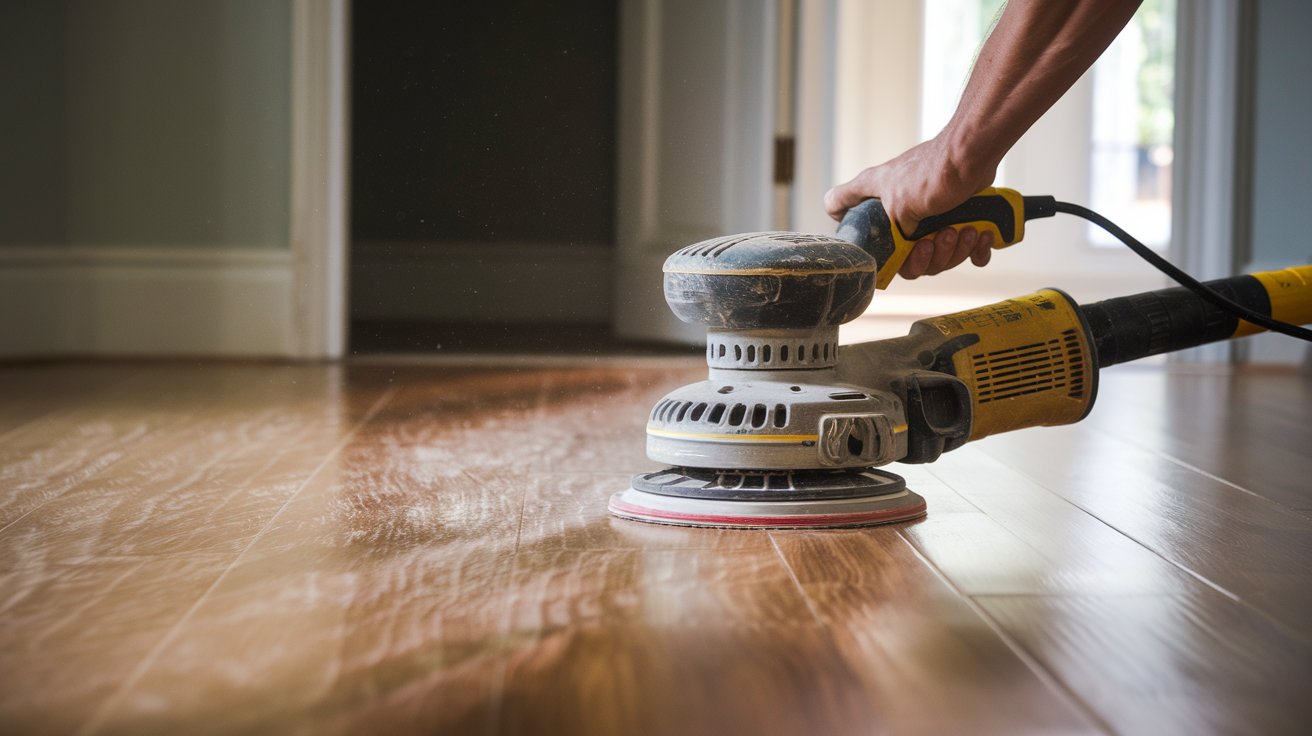
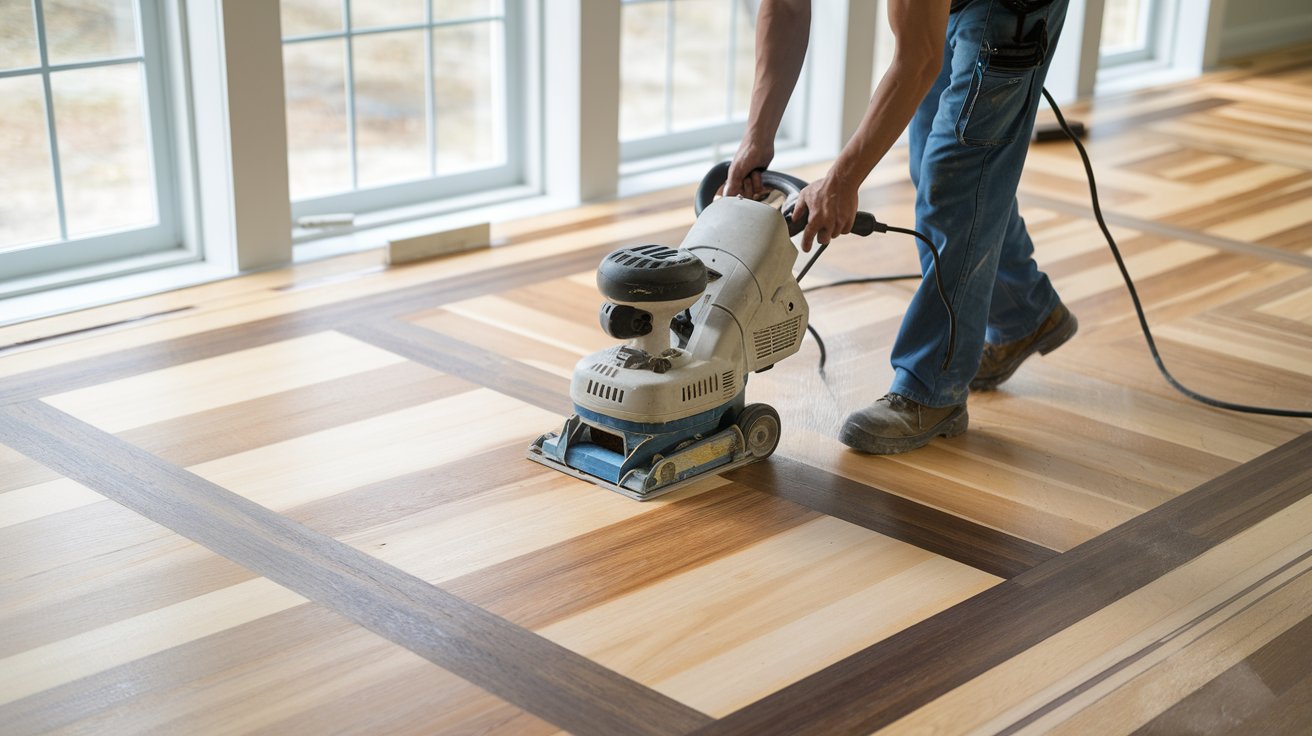
Gathering the right equipment before starting ensures a smooth refinishing process without frustrating interruptions. The drum sander serves as your primary tool for removing old finish and leveling the floor surface, while an edge sander handles corners and perimeter areas where the drum sander cannot reach. Most hardware stores and home improvement centers across the United States rent these machines for $40 to $60 per day each, with weekend packages offering better value.
Beyond sanders, you’ll need multiple grits of sandpaper in sequence: 36-grit for initial heavy sanding on damaged floors, 60-grit for moderate refinishing, 80-grit for smoothing, and 100 or 120-grit for final passes. A buffer with 120-grit screening pads prepares the surface between polyurethane coats. Safety equipment including respirator masks rated N95 or higher, safety glasses, ear protection, and knee pads protect you during the physically demanding work. Additional supplies include wood filler for gaps and gouges, tack cloths, paint trays, high-quality polyurethane applicators or lambswool pads, and mineral spirits for oil-based finish cleanup.
How to Refinish Hardwood Floors Yourself
The DIY refinishing process follows systematic steps that transform worn floors into stunning surfaces. Success depends on thorough preparation, patient execution, and attention to detail throughout each phase. Most homeowners can complete a standard room in 3 to 5 days, accounting for drying times between coats.
Preparing Your Room and Floors
Proper preparation prevents contamination and ensures professional results from your DIY project. Remove all furniture, area rugs, and window treatments from the room, as sanding generates fine dust that penetrates everywhere. Take down wall decorations and cover doorways with plastic sheeting sealed with painter’s tape to contain dust within the work area. Inspect the entire floor carefully, hammering down any protruding nails flush with the surface and using a nail set to recess them slightly below the wood surface to prevent damaging sandpaper.
Fill large gaps between boards and deep gouges with wood filler color-matched to your floor species, allowing it to dry completely according to manufacturer instructions. Sweep and vacuum thoroughly to remove loose debris that could scratch the floor during initial sanding passes. Close heating and cooling vents with plastic and tape to prevent dust infiltration throughout your home’s HVAC system. This comprehensive preparation stage typically requires 2 to 3 hours but dramatically improves your final results and protects your home from excessive dust spread.
Sanding Process Step by Step
Mastering the sanding technique represents the most critical skill for successful floor refinishing. Start with 36 or 40-grit sandpaper on your drum sander only if your floors have deep scratches, old paint, or severe damage; otherwise, begin with 60-grit for floors in decent condition. Sand with the wood grain direction, starting along the wall and moving backward as you pull the machine, keeping it in constant motion to avoid creating depressions. Overlap each pass by 3 to 4 inches and never let the spinning drum rest in one spot, as it removes wood material extremely quickly.
After completing the room with your initial grit, use the edge sander around the perimeter where the drum sander couldn’t reach, feathering your work to blend with the main floor area. Vacuum thoroughly between each grit progression, then repeat the entire process with 60-grit, then 80-grit, and finally 100 or 120-grit sandpaper. Each successive grit removes scratches from the previous pass while creating a smoother surface. The final sanding with 120-grit produces the smooth surface necessary for stain and finish adhesion. Professional refinishers in the United States emphasize that patient, thorough sanding with proper grit progression determines 80% of your project’s success.
How to Restore Hardwood Floors Without Sanding
Not every floor requires the intensive sanding process, and several methods restore beauty without removing wood material. The screening and recoating method works perfectly for floors with intact finish that show only surface scratches and dullness. This process uses a buffing machine with 120-grit mesh screens to abrade the existing finish slightly, creating texture for the new coat to bond without removing the protective layer completely. Homeowners can recoat hardwood floors using this method in one day, spending just $200 to $400 on materials and equipment rental.
Chemical revivers and restorers offer another no-sanding option for floors with minimal damage. These specialized products, available at home improvement stores across the United States, penetrate worn finishes to restore shine and provide additional protection. Apply them with applicator pads following manufacturer directions, typically requiring two coats with 2 to 3 hours drying time between applications. While these methods cannot fix deep scratches, water damage, or wood discoloration, they extend your floor’s life by 3 to 5 years before full refinishing becomes necessary, making them cost-effective maintenance solutions.
Choosing Stain Colors and Finishes
Selecting the right stain color and finish type impacts both aesthetics and floor durability for years to come. In 2026, natural and light wood tones dominate United States interior design trends, with many homeowners choosing to skip stain entirely and apply clear finish over natural wood. This approach showcases the inherent beauty of species like white oak, maple, and ash while creating bright, spacious-feeling rooms that align with contemporary design preferences.
For those preferring stained floors, medium brown tones and gray-tinted stains remain consistently popular choices that never go out of style. Classic colors like Early American, Provincial, and Jacobean provide timeless appeal that works with various decorating styles. Test your chosen stain on an inconspicuous area or leftover flooring piece, as it appears differently on various wood species and grain patterns. Apply stain with a brush or cloth, working with the grain and wiping excess after 5 to 15 minutes depending on desired color intensity. Allow stain to dry completely for 24 hours before applying protective finish coats.
Applying Polyurethane Finish
The polyurethane finish protects your refinished floors from daily wear while enhancing the wood’s natural beauty. Water-based polyurethane has become the preferred choice for most DIY projects in 2026 due to low odor, quick drying times of 2 to 4 hours between coats, and easy soap-and-water cleanup. It maintains the wood’s natural color without the amber tint that oil-based products develop, though it requires three to four coats for adequate protection compared to two to three coats for oil-based alternatives.
Apply polyurethane using a high-quality synthetic applicator pad or lambswool applicator, working with the grain in smooth, overlapping strokes. Maintain a wet edge to prevent lap marks and avoid overworking areas, which creates bubbles that mar the finish. Between coats, lightly buff the surface with 220-grit sandpaper or screening pads to ensure proper adhesion, then remove all dust with tack cloths. The final coat requires 72 hours of cure time before walking on floors with socks and at least one week before replacing furniture. Following these guidelines produces a durable, professional-looking finish that protects your investment for years.
Easiest Way to Refinish Hardwood Floors
If you’re seeking the easiest refinishing method, the screening and recoating approach offers the best balance of simplicity and results. This technique works for floors showing minor wear but lacking deep damage, completing the entire project in just one weekend. Rent a floor buffer with 120-grit screening pads, run it over your entire floor to abrade the existing finish, vacuum thoroughly, and apply two coats of polyurethane with 3 to 4 hours drying time between applications.
For the absolute simplest approach, refinishing kits sold by major manufacturers provide pre-measured components and detailed instructions specifically designed for DIY homeowners. These kits include chemical cleaners that strip old finish without sanding, conditioning agents, and simplified finish products that reduce the skill level required. While professional refinishers might not choose these methods for severely damaged floors, they work excellently for routine maintenance refinishing every 5 to 7 years. United States homeowners consistently rate these approaches as manageable weekend projects that deliver satisfying results without the physical demands of full sanding.
How to Refinish Hardwood Floors With Gaps
Addressing gaps between floor boards before refinishing prevents drafts and improves your floor’s finished appearance. Seasonal wood movement creates gaps in most older homes as boards expand during humid summers and contract during dry winters. Gaps wider than 1/8 inch should be filled before refinishing, while smaller gaps often close naturally when humidity rises and may not require attention.
For filling larger gaps, use flexible wood filler, rope caulk, or thin wood strips depending on gap width and your budget. Wood filler works well for gaps up to 1/4 inch, applied with a putty knife and sanded flush after drying. Wider gaps benefit from rope caulk color-matched to your floor, pressed into place with a putty knife, providing flexibility that accommodates continued wood movement. The most permanent solution involves cutting thin strips of matching hardwood, applying wood glue, and tapping them into place with a rubber mallet. After addressing gaps, proceed with normal sanding and refinishing steps, feathering filled areas to blend seamlessly with surrounding wood.
How to Refinish Hardwood Floors Cheap
Budget-conscious homeowners can significantly reduce refinishing costs through strategic planning and smart material choices. The largest savings come from doing the work yourself rather than hiring professionals, immediately eliminating labor costs that typically represent 60% to 70% of total project expenses. Beyond the DIY decision, additional cost-cutting strategies maintain quality while reducing spending.
Rent equipment during mid-week periods when possible, as many rental centers offer discounted weekday rates compared to weekend pricing when demand peaks. Purchase contractor-grade materials from local suppliers rather than retail home improvement stores, often saving 20% to 30% on sandpaper, stain, and finish products. Choose water-based polyurethane over oil-based alternatives; while oil-based products cost less per gallon, water-based formulas require fewer coats and offer easier cleanup without expensive mineral spirits. Skip optional staining if you appreciate natural wood tones, eliminating both material costs and an entire process step. These combined strategies allow refinishing a typical room for $300 to $500 in the United States during 2026, compared to $1,800 to $3,000 for professional services.
Hardwood Floor Resurfacing vs Refinishing
Understanding the distinction between resurfacing and refinishing helps you choose the appropriate service for your floor’s condition. Refinishing involves sanding down through old finish and into the wood itself, removing scratches, stains, and damage before applying new stain and protective coats. This comprehensive process addresses deep damage and can be performed 3 to 5 times during a floor’s lifetime before the wood becomes too thin, with each refinishing removing approximately 1/32 to 1/16 inch of material.
Resurfacing, also called recoating or screening, only abrades the existing finish surface without removing significant wood material. This lighter process refreshes floors showing minor wear, scratches only in the finish layer, and general dullness from traffic. Resurfacing costs 40% to 60% less than full refinishing, typically ranging from $1.50 to $2.50 per square foot professionally in 2026, and can be performed more frequently without damaging the wood itself. Choose resurfacing when your floor’s wood remains in good condition but the finish shows wear, and opt for full refinishing when scratches penetrate into wood or when significant discoloration requires removal.
Maintenance Tips After Refinishing
Proper maintenance extends your newly refinished floor’s beauty and protection for 7 to 10 years before requiring another refinishing cycle. During the first week after final coat application, walk only in socks or soft-soled shoes to prevent marking the curing finish. Wait at least 48 to 72 hours before walking on floors at all, and one full week before replacing furniture. Place felt pads under all furniture legs immediately to prevent scratches from daily movement, and use protective mats under desk chairs with rolling casters.
Regular cleaning maintains floor appearance without damaging the finish. Sweep or vacuum daily to remove dirt and grit that acts as sandpaper under foot traffic, accelerating wear. For wet cleaning, use pH-neutral hardwood floor cleaners specifically formulated for finished floors rather than general household cleaners. Many homeowners ask if they can use Dawn dish soap to clean wood floors; while diluted dish soap won’t immediately damage floors, it leaves residue that dulls finish over time and isn’t recommended by flooring professionals. Instead, invest in quality hardwood floor cleaning products that maintain shine while protecting your refinishing investment for maximum longevity.
Related video about how to refinish hardwood floors
This video complements the article information with a practical visual demonstration.
Most asked questions about how to refinish hardwood floors
Can I refinish my hardwood floors myself?
Yes, refinishing hardwood floors yourself is entirely achievable for homeowners with basic DIY skills and willingness to follow systematic procedures. The project requires renting specialized equipment including drum sanders and edge sanders, typically costing $200 to $400 for a weekend rental period. Most homeowners successfully complete a standard bedroom or living room in 3 to 5 days, including drying time between finish coats. The process demands physical effort and attention to detail, particularly during sanding stages, but online tutorials and equipment rental centers provide comprehensive instructions. DIY refinishing saves $1,500 to $2,500 compared to professional services across the United States in 2026, making it an attractive option for budget-conscious homeowners willing to invest their time.
Can you recoat hardwood floors without sanding?
You can recoat hardwood floors without full sanding using the screening method, which lightly abrades the existing finish to create a bonding surface for new polyurethane. This approach works perfectly for floors with intact finish showing only surface scratches, dullness, or minor wear rather than deep damage penetrating into the wood. The process uses a floor buffer with 120-grit mesh screens, followed by thorough cleaning and application of one or two fresh polyurethane coats. Screening and recoating typically costs just $200 to $400 for materials and equipment rental, requires only one weekend to complete, and extends floor life by 3 to 5 years. However, this method cannot address deep scratches, water stains, or discoloration in the wood itself, which require full refinishing with drum sanding.
What color floors never go out of style?
Medium brown tones and natural wood finishes represent timeless floor colors that remain stylish through changing design trends. Classic stain colors like Early American, Provincial, and Special Walnut have maintained popularity for decades across the United States and work harmoniously with both traditional and contemporary interiors. In 2026, many designers recommend skipping stain entirely and using clear finish over natural wood, particularly with species like white oak, red oak, and maple, creating bright, versatile spaces that accommodate various decorating styles. Gray-toned stains have proven their staying power over the past decade, offering modern aesthetics without trending into faddish territory. Avoiding extreme dark or light stains, exotic colors, or high-contrast patterns ensures your floors remain attractive and appropriate regardless of future design preferences.
Can I use Dawn dish soap to clean my wood floors?
While heavily diluted Dawn dish soap won’t immediately damage finished hardwood floors, flooring professionals strongly discourage its regular use for wood floor cleaning. Dish soap formulations contain degreasers and surfactants designed for dishes rather than floor finishes, often leaving residue that builds up over time and creates a dull, sticky surface that attracts more dirt. This residue accumulation eventually requires professional deep cleaning to remove. Instead, use pH-neutral cleaning products specifically formulated for finished hardwood floors, which clean effectively without leaving buildup or damaging the protective polyurethane layer. Quality hardwood floor cleaners cost $8 to $15 per bottle in 2026 and maintain your floor’s appearance while protecting your refinishing investment for maximum longevity between refinishing cycles.
How long does it take to refinish hardwood floors?
Refinishing hardwood floors typically requires 3 to 5 days to complete, though this timeline varies based on room size, floor condition, and whether you’re applying stain. The actual sanding process takes 4 to 8 hours for an average-sized room, including all grit progressions and edge work. If staining, add one full day for application and drying before applying finish coats. Each polyurethane coat requires 2 to 4 hours to dry sufficiently for the next coat with water-based products, or 8 to 12 hours with oil-based finishes. Most projects need three to four finish coats for adequate protection. After the final coat, floors require 48 to 72 hours before light walking and one full week before replacing furniture and resuming normal use. Professional refinishers across the United States often complete projects faster due to experience and commercial-grade equipment, but DIY homeowners should plan for a full week from start to complete cure.
Is it worth it to refinish hardwood floors yourself?
Refinishing hardwood floors yourself offers substantial financial value, saving $1,500 to $2,500 on a typical room compared to professional services in 2026. For homeowners with basic DIY skills, adequate time, and willingness to perform physically demanding work, the investment proves worthwhile. Material and equipment rental costs total just $300 to $800, while professional refinishing ranges from $1,800 to $3,000 for the same space. Beyond financial savings, DIY refinishing provides complete control over product selection, finish appearance, and project timing. However, the work requires physical stamina for operating heavy sanders, produces significant dust despite containment efforts, and demands attention to detail to avoid visible mistakes. Homeowners uncomfortable with power tools, those with health conditions limiting physical activity, or individuals lacking 3 to 5 consecutive days for the project may find professional services worth the additional cost for convenience and guaranteed results.
| Refinishing Method | Best For | Average Cost | Time Required |
|---|---|---|---|
| Full DIY Refinishing | Deep scratches, water damage, major wear | $300-$800 | 3-5 days |
| Screening & Recoating | Surface scratches, dullness, minor wear | $200-$400 | 1-2 days |
| Chemical Restorers | Light wear, maintaining existing finish | $50-$150 | 4-6 hours |
| Professional Refinishing | Complex layouts, time constraints, guaranteed results | $1,800-$3,000 | 2-3 days |